

 Download PDF
DATASHEET SEARCH SITE
Document overview
- Manufacturer or author: Provided By www.digicamel.com(FREE DATASHEET DOWNLOAD SITE)
- PDF pages: 1
Technical content
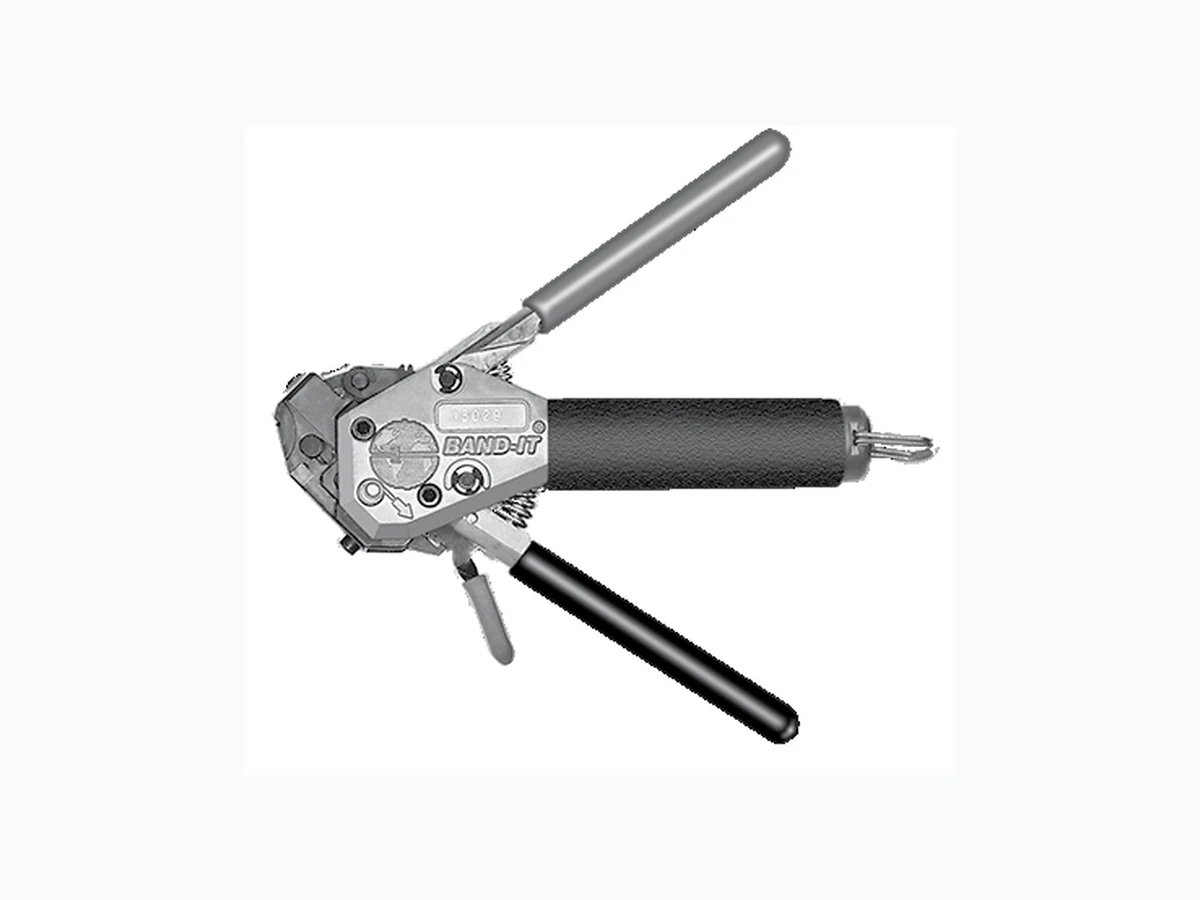
E BAND ASTER™ ATS TOOL AND BANDS Band installation Tool. Use with .240" (6.10 mm) wide bands. 6.75 inches (172 mm) length, 1.2 pounds (0.6 Kg.) Standard Band, .240" (6.10 mm) wide. Available Figure Description Part Number Band installation Tool Figure Length Part Number Accommodates Diameter in. mm Flat Pre-Coiled in. mm Contact Glenair or visit our website (glenair.com) to view our complete line of Band-Master™ ATS products, including pneumatic tools for high volume production and calibration kits. TAIL LENGTH INDICATOR MARK .240 (6.10) .350 (8.9) LENGTH ± .060 (1.5) Band-Master™ ATS tool and bands for termination of cable braid 600-058 tool, 600-052 and 600-090 band straps 1. Prepare C able Bra id for term ination process (Figure 1). 2. Push Braid forward over Adapter Retention Lip to the Adapter Incline Point (or .4" [10.2mm] minimum braid length). Milk Braid as required shield termination area (Figure 2). 3. Prepare the Band in the following manner: IM PORTANT: Due to Connector/Adapter circum- ference, it may be necessary to prepare the Band around the Cable or Retention Area. A. Roll Band through the Buckle Slot twice. (Bands must be double-coiled.) B. Pull on Band until Mark ( ) is within ap- proximately .250 inch (6.4mm) of Buckle Slot (Figure 3). The Band may be tightened further if desired. NOTE: Prepared Band should have ( ) Mark visible approximately where shown in Figure 3. Shield Termination Clamping Process (Figures 4 thru 8) NOTE: To free Tool Handles, move Holding Clips to center of Tool. 4. Squeeze Gripper Release Lever and insert Band into the front end opening of the Tool. (NOTE: Circular portion of looped band must always face downward.) 5. Aligning the Band and Tool with the Shield Termination Area, squeeze Black P ull-Up Handle repeatedly using short strokes until it locks against Tool Body. (This indicates the Band is compressed to the Tool Precalibrated Tension.) NOTE: If alignment of band and shield is un- satisfactory, tension on band can be relaxed by pushing on slotted release lever on top of tool. Make adjustments as necessary and again squee ze black pull-up handle. 6. Complete the Clamping Process by squeez- 7. Remove excess band from tool and dispose. 8. Inspect Shield Termination. BAND ASTER™ S HIELD TER MINATION INSTRUCTIONS Buckle Tail Length Indicator Mark Adapter Retention Lip Conductors Braid Adapter Incline .400 (1.2mm) Min. Length Braid Over Termination Area Band- Master™ ATS 300 series SST/passivate I.A.W. AMS 2700. The Band-Master™ ATS with just one band size. Approved for aerospace and defense, these straps have successfully passed rigorous shock, vibration and environmental testing.