

 Download PDF
100200-4Z50-2 ANAREN
Document overview
- Manufacturer or author: Provided By digicamel.com
- PDF pages: 2
Technical content
Place Manufacturing. USA/Canada: Toll Free: Europe : (315) 432-8909 (800) 544-2414 +44 2392-232392 Model 100200 -4Z 50 -2 Outline Drawing Features:
- 10 Watts
- Lowest Cost
- True Surface Mount
- BeO Ceramic
- Non-Nichrome Resistive Element
- Low VSWR
- 100% Tested Surface Mount Termination
10 Watts, 50 ΩΩ ΩΩ
Description
The 100200-4Z50-2 is high performance Alumina surfa ce mount termination intended as a lower cost alternative to Aluminum Nitride (AlN) and Beryllium Oxide (BeO). The termination is well suited to all cellular frequency bands such as; AMPS, GSM, DCS, PCS, PHS a nd UMTS. The high power handling makes the part ideal for termin ating 90 degree hybrid, directional couplers, and for use in isolators. General Specifications Resistive Element Thick film Substrate BeO Ceramic Terminal Finish Thick film Silver Operating Temperature -55 to +125 °C (see chart) Tolerance is ±0.010”, unless otherwise specified. Designed to meet of exceed applicable portions of MIL-E-5400. All dimensions in inches. Electrical Specifications Resistance Value: 50 ohms, ± 2% Power: 10 Watts Frequency Range: DC – 3.0 GHz Specification based on unit properly installed using suggested mounting instructions and a 50 ohm nominal impedance. Specifications subject to change without notice 100200-4Z50-2 (097) Rev B pg. 1 of 2
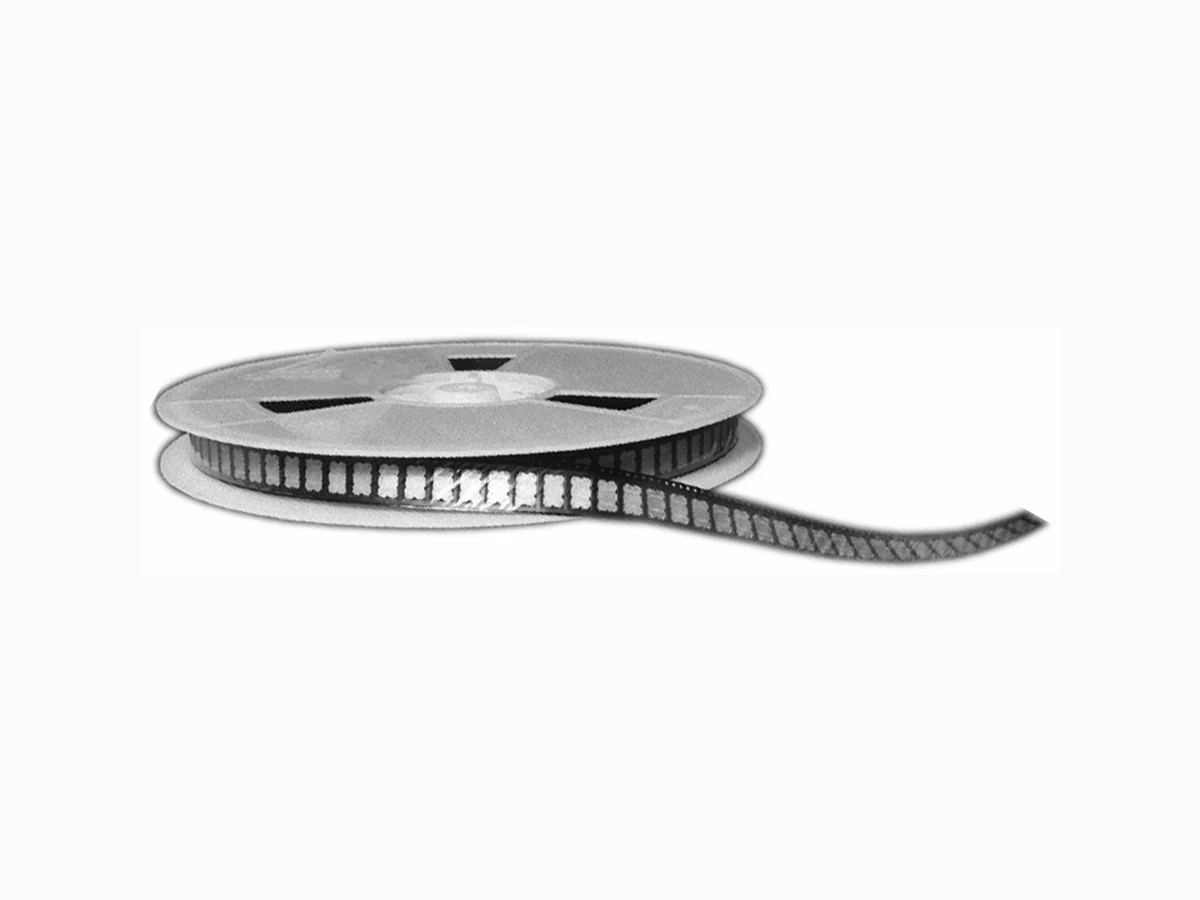
USA/Canada: Toll Free: Europe: (315) 432-8909 (800) 544-2414 +44 2392-232392 Available on Tape and Reel For Pick and Place Manufacturing. Model 100 200 -4Z 50 -2 Typical Performance: Power De-rating: Tape & Reel: Mounting Footprint and Procedure: 50 ohm line 0.092 [2.34] 0.025 [0.63] 0.035 [0.89] 0.060 [1.52] Ø0.031 [Ø0.79] 0.250 [6.35] Ø0.101 [Ø2.57] 2x 4-40 Screw Hole Dimension given in inches [millimeters] For best thermal performance the PCB should be soldered to the heat sink. PC BOARD SOLDER SOLDER PASTE FILLED VIA MOUNTING PROCEDURE HEATSINK SCREW (2 PLS.) operation, drill and tap heatsink and mount PCB board to heatsink using screws. 3. To ensure good thermal connectivity to heat sink, which is critical for proper 2. Solder part in place using appropriate solder with a controlled temperature iron. 1. Drill thermal vias through PCB and fill with solder. 100200-4Z50-2 (097) Rev B pg. 2 of 2 PCB Solder interface Temperature - ° C